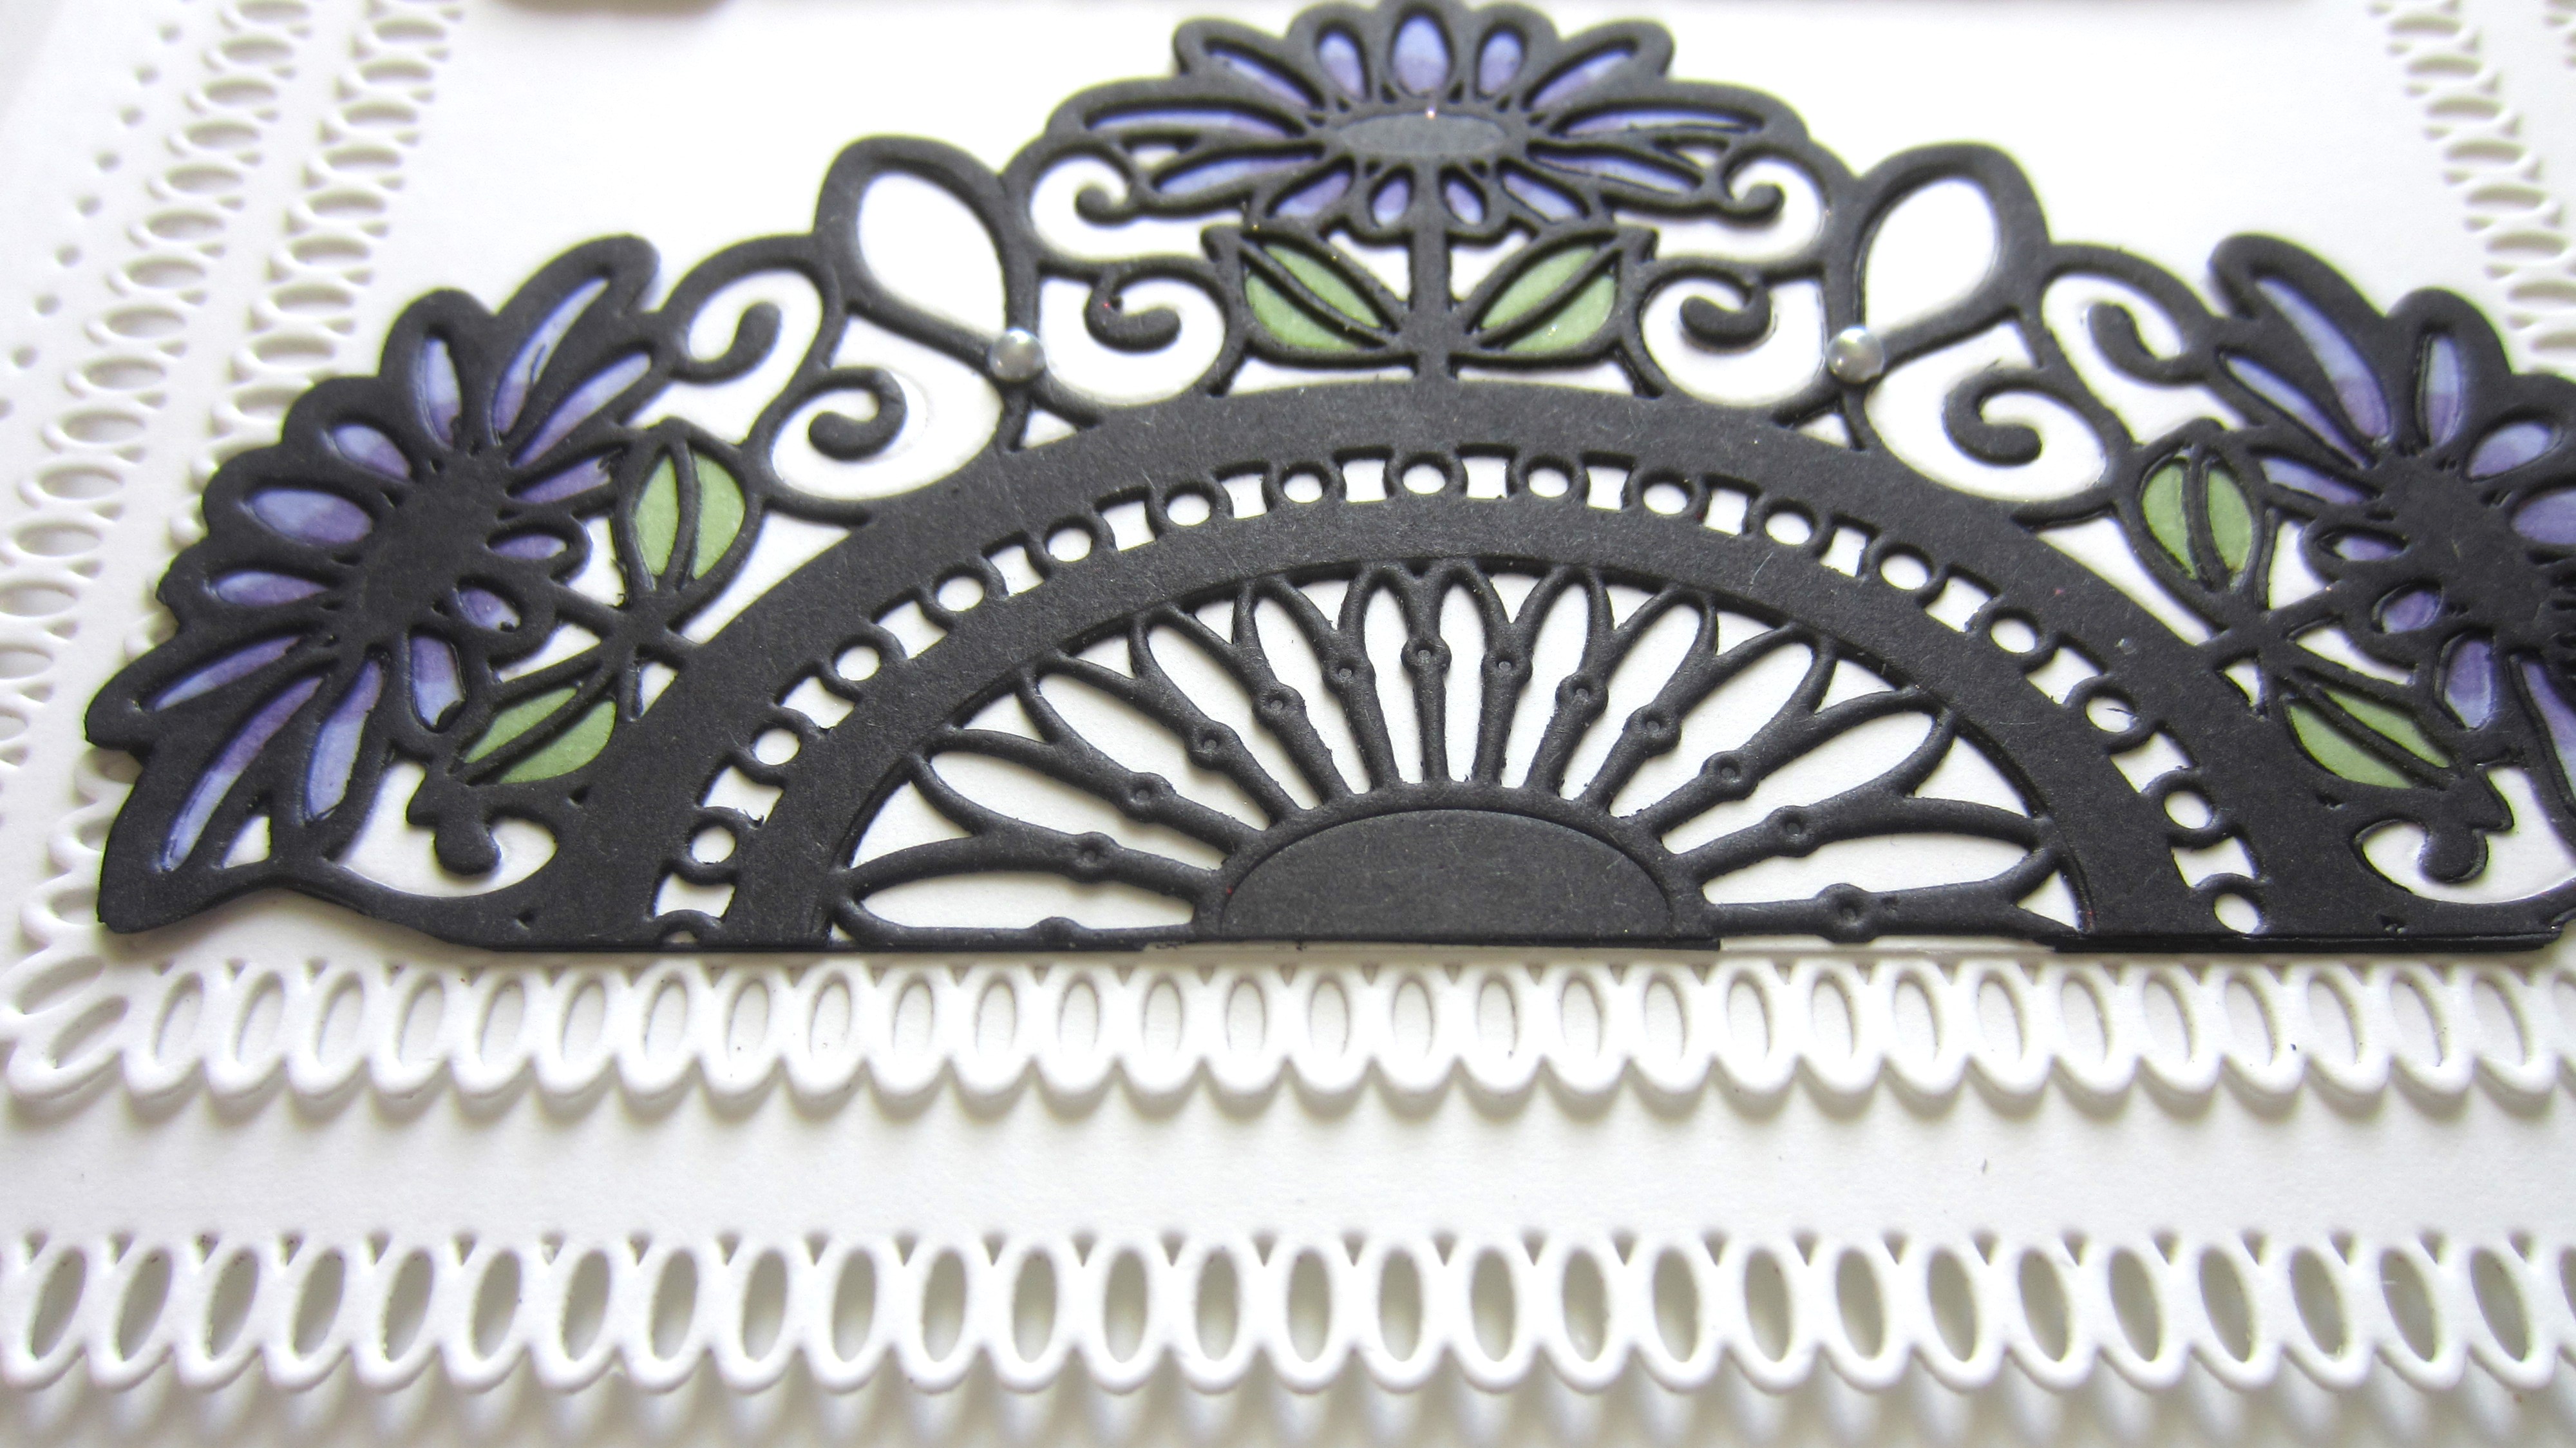
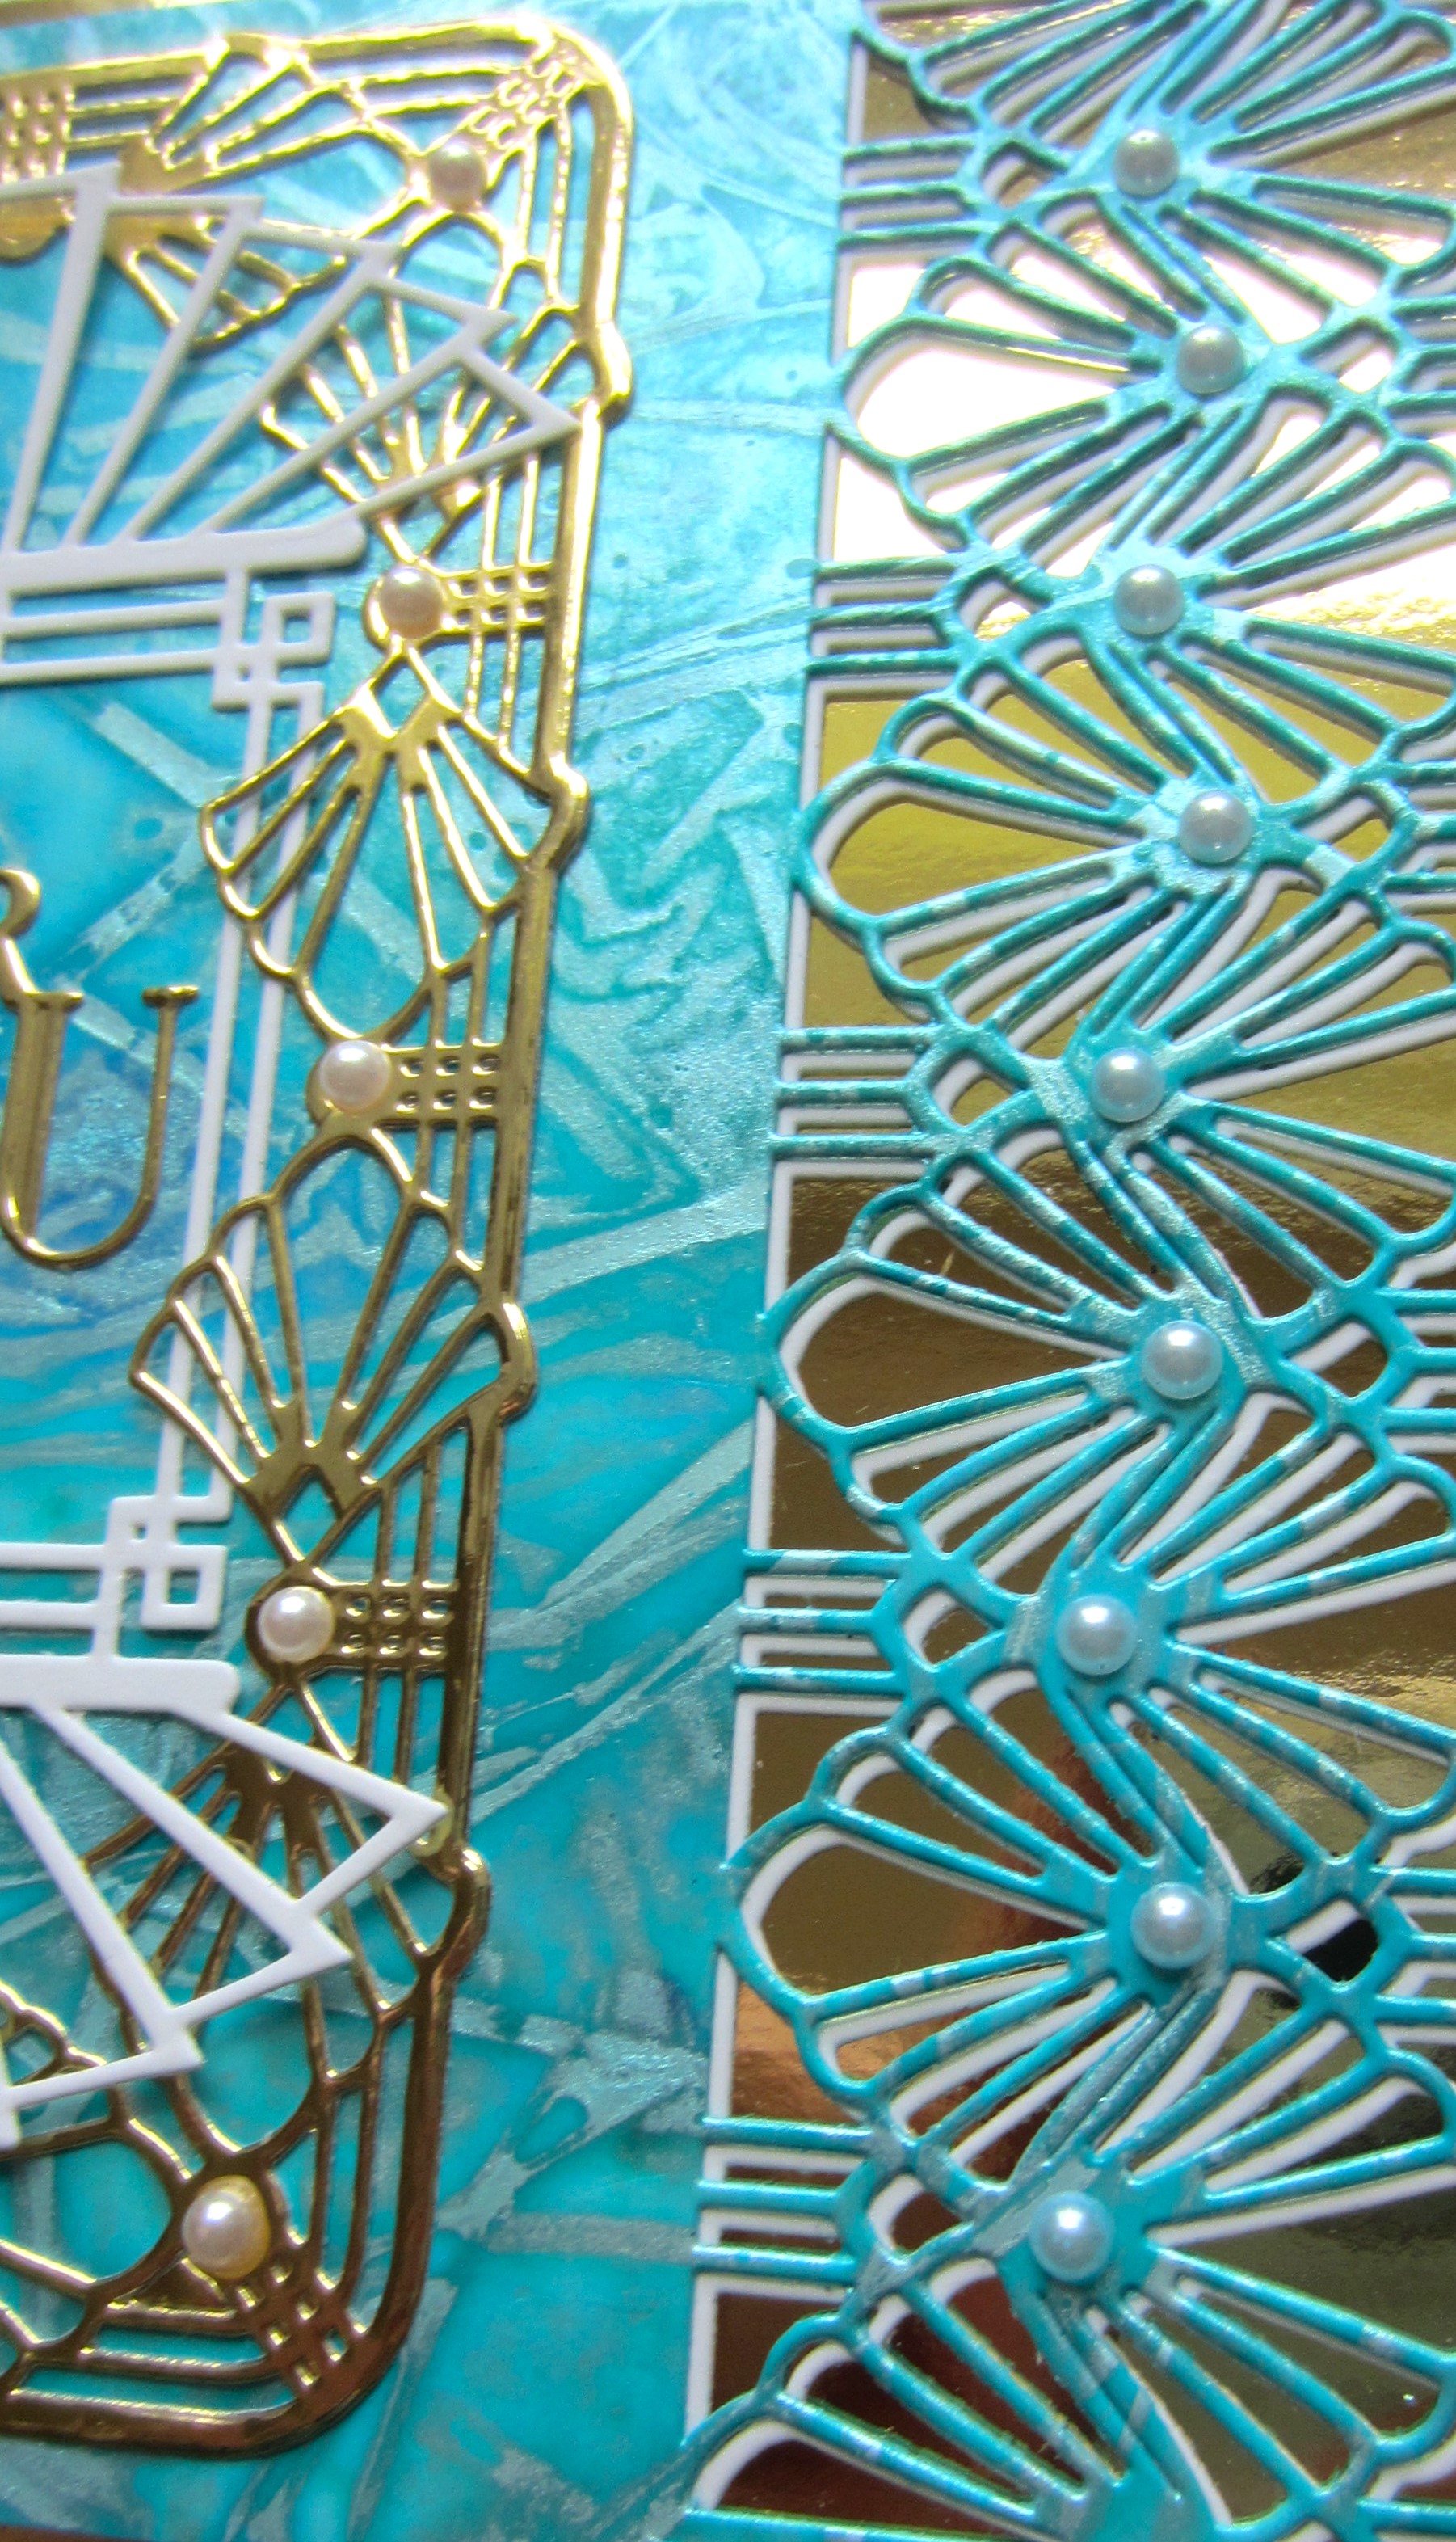
Monday 18 March 2024

Best Wishes

 Hello crafters!  I started today's card by cutting the Lena die three times with a piece of black card on top of a piece of white card.  I coloured the white embossed copy of each of the die cuts with alcohol ink markers.  I cut the centre section of the Lena die one time with the same sandwich.  I coloured this one then added a piece of sticky adhesive sheet on top of it, then added the black die cut.  I used Frosted Sparkle Glitterbitz on the top of it.  I added it to the Lena die with mounting foam.  I cut the very top and bottom of the Lena die where the flowers are and used them on the edges of the card.  I kept the body of both of the die cuts and used them above and below the full Lena die cut.  I cut the Best Wishes sentiment and the Its Time to Celebrate sentiment from Wordie Sheets and added them at the top and bottom of the card.  The card was completed with white mats and layers.  The finished dimensions are 7 1/2"  x  9 1/4"  in size.  

                                                          Follow my blog with Bloglovin

Sunday 17 March 2024

Hello

 Good Sunday morning all! I haven't made a petticoat card in awhile so here is one for you.  I started with a piece of white card .  Using the Decorative Drapes Border, I cut it in white, black and blue card and layered them onto the bottom of the card.  I added a thin black strip with a thinner blue strip on it to the middle of the card.  I cut the Cora die in white and added a glittered piece behind it.  I added it to the larger decorative die in the set, cut in blue.  T he Hello sentiment was stamped from the Sending Sunshine stamp set and cut out with the small centre die in the Cora set.  I used Faded jeans distress ink around the edge before removing it from the die.  I added it to the centre of the Cora die with mounting foam.  I made a small flower using the French Marigold and added it to the corner of the die cut with white leaves as accents.  The card was completed with white, black and blue mats and layers.  The finished dimensions are 7 3/4"  x  8 1/2" in size. 


All for now, Sue x


                                                       Follow my blog with Bloglovin

Saturday 16 March 2024

You Are So Special

Hi crafters!  I started today's card by cutting the Woodgrain Plank Background out of tan card.  I used Frayed Burlap, Hickory Smoke and Antique Linen Distress inks on the background.  I cut the Layered Coneflowers out of shades of purple and added yellow centres to the flowers.  I added clear micro beads to the centres.  I cut the leaves and stems in green , then assembled the flowers.  I added them to the background, then I cut a Pierced Flag out of white card.  I cut the You Are So Special sentiment in black and glued it to a white shadow backing piece.  I added the sentiment to the Pierced flag with mounting foam.  Several clear water crystals were added to the background as accents.  The card was completed with white and black mats and layers.  The finished dimensions are 6 1/4"  x  7 1/2"  in size.  


All for now. Sue x


                                                        Follow my blog with Bloglovin

Friday 15 March 2024

Happiness Is Time Spent With A Friend

 Hello there my crafty friends!  I started today's card by cutting the Noble Looped Rectangles in white.  I cut two of them and matted them for the background.  I cut the Gloria die with a piece of black card on top of a piece of white card.  I coloured the white copy with alcohol ink markers, then covered it with a sticky adhesive sheet and added the black die cut on top.  I used Frosted Sparkle Glitterbitz on the sticky areas and trimmed away any excess adhesive sheet.  I added the coloured die cut to the centre of the card with mounting foam.  I cut the Happiness Is Time Spent With A Friend in black and added it to a white shadow backing piece.  I added the sentiment across the middle of the die with mounting foam.  The card was completed with white and black mats and layers.  The finished dimensions are 7 1/4"  x  8 1/4" in size.  


All for now, Sue x


Thursday 14 March 2024

Sincere Thanks

 Hi bloggers!  I started by cutting the Tropical Background out of green card.   I backed it with a white backing piece.  Using the Round Corner Square die set, I made a multi-layered white frame.  I added it over the background with mounting foam.  I cut a small circle using the Double Stitched Circles.  I added mounting foam to the back of it and attached a white backing piece to it, then added it to the middle of the card.  Using the Layered Hibiscus die set, I made two flowers using shades of pink and attached them to the circular frame in opposite sides.  I cut the Sincere Thanks sentiment and glued it inside the frame.  The card was completed with white mats and layers.  The finished dimensions are 8 1/4"  x  8 1/4"  in size.   


All for now, Sue x


                                                         Follow my blog with Bloglovin

Wednesday 13 March 2024

Many Thanks

 Hello crafters!  I started with a piece of milk card and embossed it with the Tidal Sands embossing folder.  Using the Round Corner Squares, I made a multi-layered frame with a wider milk card base and a thinner blush pink frame on top.  I added it over the embossed background with mounting foam.  I cut the Hazel die in milk card and attached it to the inside of the frame.  Next I cut the Cora die out of two pieces of milk card and I used the bottom piece to colour the tiny flowers pink.  I glued the pieces together and added it on top of the Hazel die.  I cut the Many Thanks sentiment out of blush pink card and glued it to the middle of the Cora die.  Using the French Marigold die set, I made a single dimensional flower, glittered it with Frosted Sparkle Glitterbitz and added it to the corner of the frame with two leaves as accents.  The card was completed with milk mats and layers.  The finished dimensions are 7 3/4"  x  7 3/4"  in size.


All for now, Sue x


                                                       Follow my blog with Bloglovin

Tuesday 12 March 2024

Just For You

Hello there my crafty friends!  I started with a piece of white card and used the small paw prints from the Pet Pals Stamp set.  First I stamped the paw print randomly all over the background in black.  I used the Festive Berries Distress ink and stamped the paw print in red.  I covered the piece with a sticky adhesive sheet then coated it with Frosted Sparkle Gitterbitz.  I cut a circular frame using the Double Stitched Circles.   I added mounting foam to the back of the frame and added it to a white backing piece.  I added the frame to the centre of the card.  I cut Buddy out of Slate Grey card and added his floppy ears, black sunglasses, a red flower and the envelope with a red heart on it.  I added some red heart above him inside the frame.  I cut the Just For You sentiment in black and added it to a white shadow backing piece then attached it under the frame.  The card was completed with white, black and red mats and layers.  The finished dimensions are 7 1/2"  x  8"  in size. 


 All for now, Sue x


                                                         Follow my blog with Bloglovin

Monday 11 March 2024

Hello Friend

Hello there my crafty friends!  For today's card, I cut a piece of white card and then glued the two Coronet Lace Borders that I cut in black.  Next I cut the Noble Looped Ovals in black and attached it to the middle of the card.  I used the Double Stitched Ovals and cut a white frame to fit just inside the edges of the Looped oval base.  I added mounting foam to the back of the frame and attached it to a piece of black card.  Using the Layered Tulips, I made five flowers in shades of yellow and orange and cut the leaves and stems in two shades of green card.  I assembled the flowers then attached them to the inside of the frame.  I cut the Hello Friend sentiment in black and added it to a whit shadow backing piece then attached it at the bottom section of the frame over the tulip stems.  The card was completed with white mats and layers.  The finished dimensions are 6 3/4"  x  9 1/4"  in size.  


All for now. Sue x 


                                                         Follow my blog with Bloglovin